A Guide for Building Bots with API.AI
The first part of a guide for building conversational bots using the free service provided by API.AI.
What is API.AI?
API.AI is a platform for building conversational bots. The company was bought by Google in 2016 and it is the recommended way to build apps for Google Assistant, which runs on many Android phones as well as the Google Home.
I first discovered it when I investigated building an app for my Google Home in December and needed a way to abstract all of the natural language processing that made up the hard part of building my application.
API.AI does all of this processing for you and provides an online interface for designing the flow of your bot’s conversations.
Each bot is broken into a front-end and a back-end:
-
The API.AI front-end defines what sort of queries my bot responds to. It maps the query to an action, extracts the information I have indicated is valuable, and sends that information to my server.
-
The back-end is a JSON API that receives that processed information and determines what the bot should respond, sending that reply back to API.AI to be displayed to the user.
In part 1 of this guide I will be walking through how to build your bot’s front-end with API.AI. I will be using my restaurant assistant, Foodguy, as an example wherever needed.
In part 2 of this guide, I’ll show you how to build a server that takes requests from API.AI and generates your bot’s response.
Building your Bot
API.AI, in my opinion, is an awesome front-end for your bot. It allows you to design conversations in a clean visual interface, which I think is largely a positive experience.
The first thing that to do to get started building your bot is create an agent, your application, which can easily be done after creating an account here.
Once that’s done, you will see a number of options in their menu:
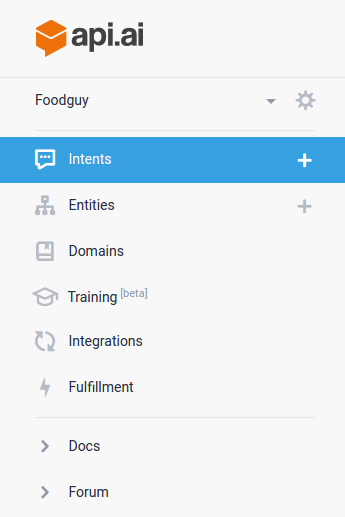
Each of these are an important part of building your bot so I’ll talk about each of them.
Intents
Intents map what your user says to an action you want your bot to perform. For Foodguy, I want to make a recommendation intent that provides users with restaurant recommendations based on their location and the cuisines that they want.
After creating the intent, name what you want its action to be called, for me this is just recommendation.
You can then specify the expressions a user can say that should map to this intent.
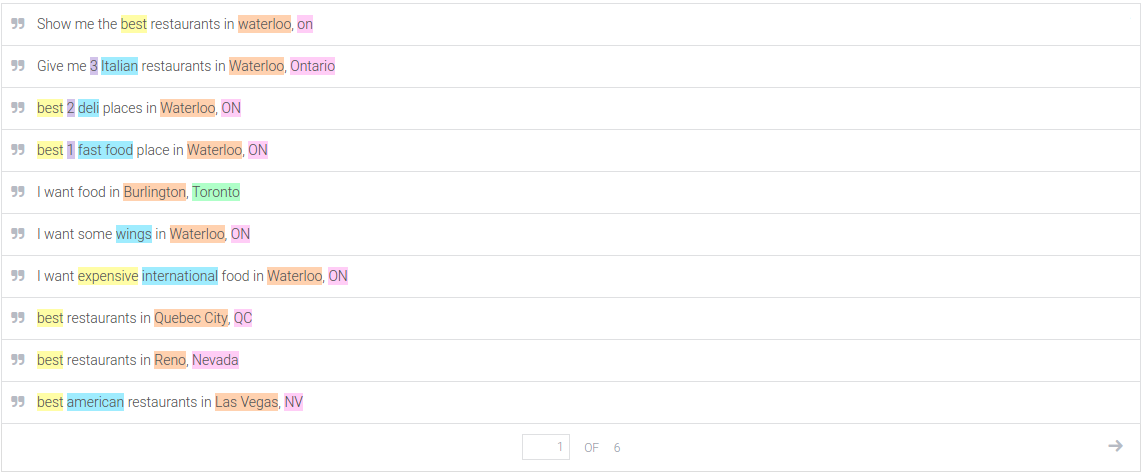
In the above example, I’ve listed a number of ways that a user can ask for a restaurant recommendation.
The highlighted parts of each expression are the parameters that I want API.AI to extract. This has to be done manually for the first couple expressions to train it, but after that API.AI will process new expressions and extract these parameters automatically.
Each new parameter is made available to be customized:
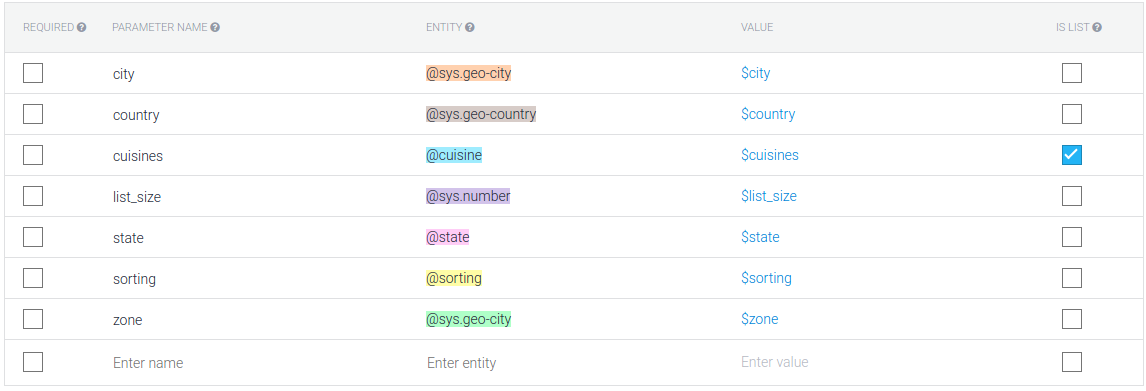
Here I can specify the name of the parameters, which will be the names sent to my server. I can also change the entity type, which is either a built-in like number, address, and name, or a custom entity that I can define.
All that is left in this intent is to specify how the bot should respond to the request. The response section is where you can define static responses that the bot should reply with whenever the intent is matched, but since my bots responses are generally dynamic, I typically ignore this section.
Instead, scroll down further to the fulfillment section and select the Use webhook checkbox to indicate that the response to a matched intent should be handled by our server.
That’s basically all you need to do to create your first intent. If you need your own custom entities like the cuisines I want to define for my recommendation intent, head over to the entities page listed in the menu from earlier.
Entities
Entities are the pieces of data that API.AI extracts from the expressions you define in your intents. For Foodguy, I need a custom cuisines entity so that I can determine the types of restaurants people want.
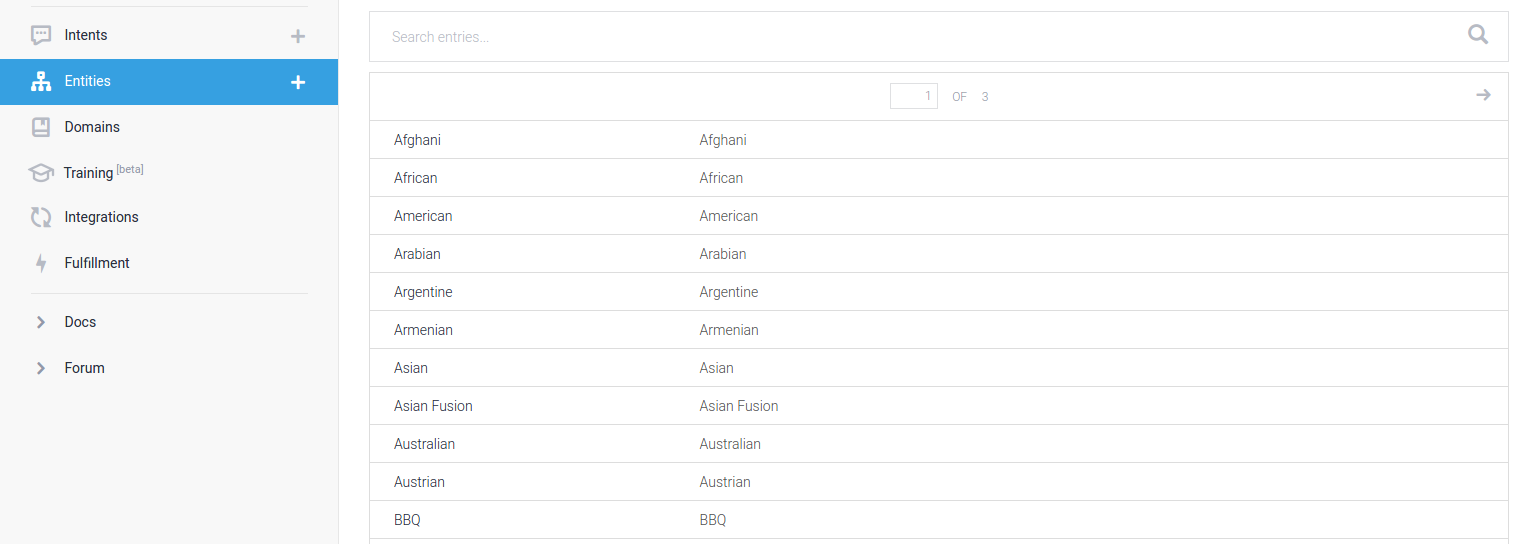
Here I’ve made a custom cuisine intent, which has two columns per row. The left column is the value of the matched entity, which will be sent to my server. On the right are synonyms that a user might use to describe that value.
While I have made a fairly large list of cuisines here, it is unreasonable to list all of them. Instead, you can check the allow automated expansion box for your custom entity, which will allow API.AI to guess at values it hasn’t seen before based on the structure of an expression.
For example, If I have an expression like “I want Thai food”, then if I allow automated expansion, a similar expression like “I want Indian food” will pick up the cuisine entity with a value of “Indian” even if only “Thai” is listed as an option for my custom cuisines.
Domains
In order to make conversational applications, your bot should respond to more than just the limited queries you define in your intents and API.AI tries to help you with this by including commonly needed domains.
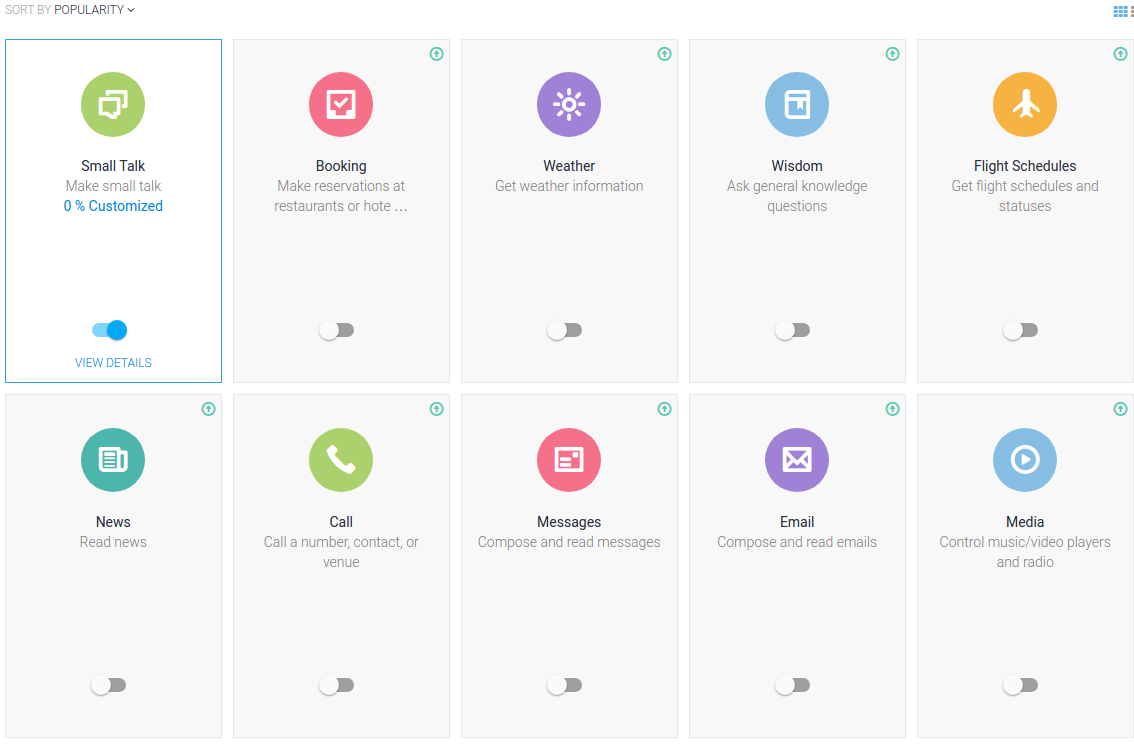
Domains include topics like weather, news, small talk and others. I currently use the small talk domain, since it allows for common interactions like greetings and acknowledgements like “thank you” or “good bye”.
It has never been a core component of my application’s functionality but it can make the important initial and final exchanges between my bot and the user a bit more human.
Training
Intents allow you to specify the ways that users will likely query your bot to perform certain actions, such as asking for a restaurant. Unlike a web interface, the way that users interact with your application cannot be as rigid.
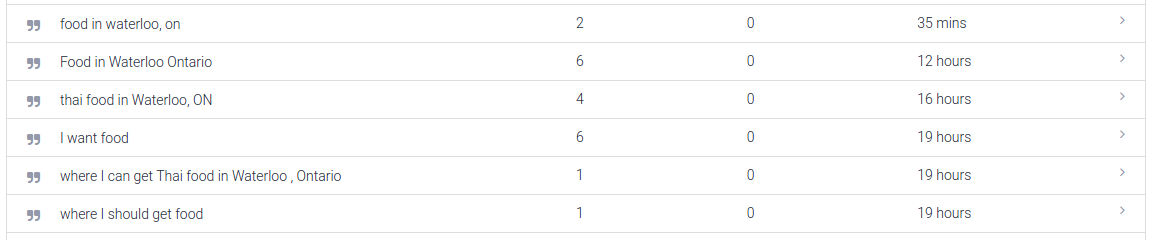
You will quickly find that you missed ways that users would ask your bot to do something and training allows you to review all of the conversations that people have had.
You can click into these conversations and see how API.AI captured the entities in the user expressions and see the response the user’s expression was given by your bot.

If it classified an entity as the wrong type, you can select the highlighted entity and change it or remove it, as well as highlight new pieces of text that API.AI missed and manually classify it.
In the above example the phrase thai food in Waterloo, ON matched my recommendation intent and picked up three entities. If it matched the wrong intent, I can click the link titled recommendation and select a different intent it should have matched.
Once I am finished making necessary changes to the entities and intent for the expression, I can approve the changes I made and add the updated expression to the intent.
The bot is now more able to handle a wider range of user expressions and with regular training it can quickly become versatile to a wide range of user requests.
Integrations
Once you have designed your bot’s core functionality you will want to expose it to users. The simplest way to make it available online is to publish it on API.AI by going to the integrations section and selecting the publish button.

The link it generates is an API.AI page with a description of your bot and an interactive iframe where anyone can begin chatting with your application.
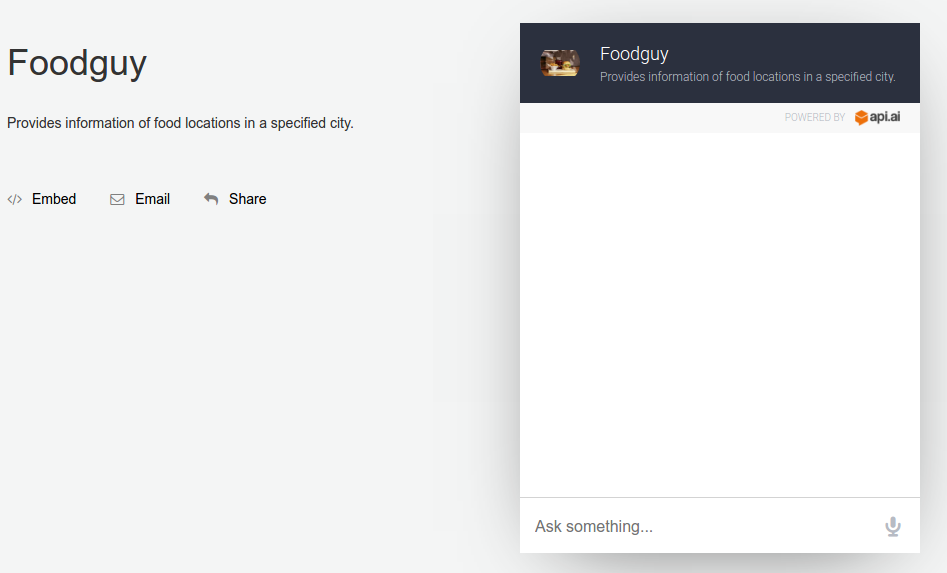
If you would like to include the iframe on your own site, you can select the embed option on the page to place it wherever you want.
This is a good starting place for getting your bot out there, but one of the advantages of bots over websites is their ability to be integrated into existing platforms.
API.AI makes it dead simple to incorporate your bot into services like Slack, Facebook, Twitter, and others. The integrations page has simple one-click integrations to these services that are as simple as inputting some API tokens for the services and clicking start.
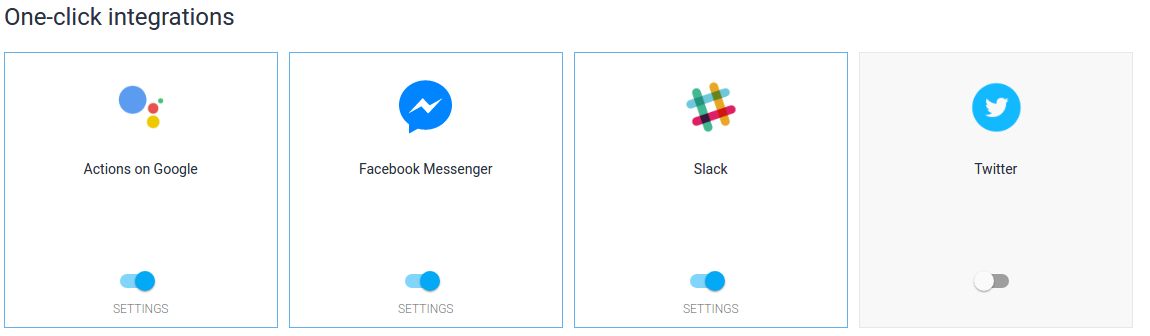
Each of them have different approval requirements, such as Facebook, which requires messaging applications to go through a submission process, but that is unavoidable, and other than that, API.AI has done all of the work for you.
The best part of using API.AI integrations is that the responses your server returns to API.AI only have to be written once and will then work on all platforms.
I will go into greater detail on creating responses for API.AI requests from a JSON API in part 2 of this guide, however, in many cases it can be as simple as returning JSON that looks like the following:
{
  "speech": "This text will be sent to all integrations!"
}
API.AI’s integrations are the reason my simple food assistant is now available on Slack, Facebook, and Google Actions. It’s a powerful feature that makes it incredibly convenient for users to access your bot on familiar platforms.
Fulfillment
The only step left to complete your bot is to specify the webhook endpoint you will be using to respond to requests. This is specified in the URL field under the fulfillment page.
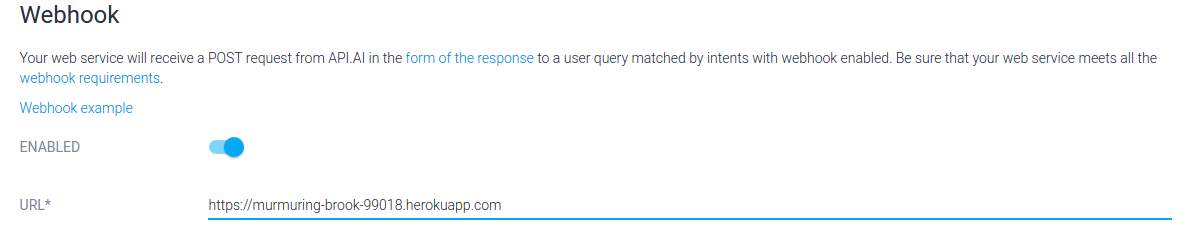
All requests from API.AI are sent as POST requests to this single endpoint with a body that indicates the specific action it is triggering. I generally like to modify these requests when they arrive at my server so that I can route them to different endpoints and I have an example of doing this and other tips in part 2 of this guide for building a JSON server to power your API.AI bot.
Wrap Up
Overall I’ve really appreciated using API.AI to design my bots and encourage people to give it a try on the strengths of its language processing, integration support and clean interface for structuring complex conversations.