Building modal flows for Flutter web
A guide for sharing code and building for multiple platforms with Flutter.
This x-post is originally available at the Pollyn Engineering blog.
Many websites feature sign up flows and wizards that guide users through each step of the way. While this is easy enough to do with Flutter navigation on mobile devices, there aren’t many options for Flutter web. We ended up making our own modal routing library called modal_stack_router.
Demo
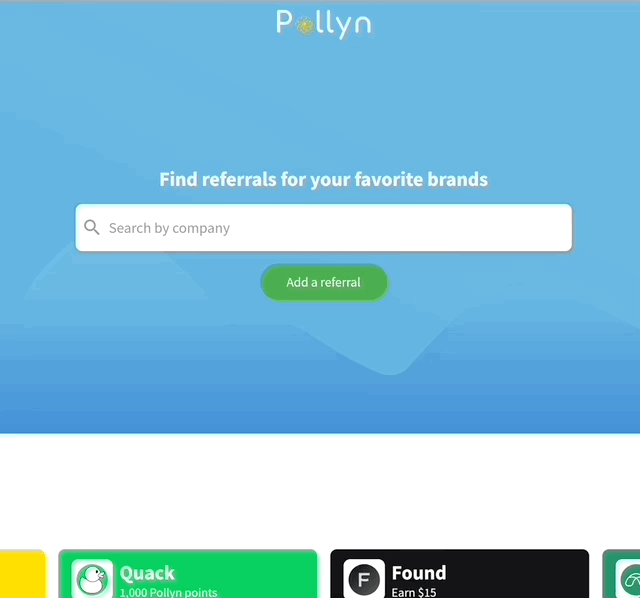
We use stack routers all over our app. You can see an example below and try it yourself on the Pollyn site. In this example from our site, we use a stack router to present users with a search bar for looking up for finding a referral to add, followed by a form where they can submit their link.
Now that we’ve seen a stack router in action, let’s dive into some code!
Building a Stack Router
Stack routers use an IndexedStack to route between different widgets. They come with their own scaffolds, app bars and snack bars similarly to the ones provided by the core Flutter UI library.
The StackRouter builder function returns a list of StackRoute widgets that can be navigated between using the router APIs.
import 'package:material.dart';
import 'package:modal_stack_router/modal_stack_router.dart';

class ExampleStackRoutes {
  static const String firstRoute = 'firstRoute';
  static const String secondRoute = 'secondRoute';
}

class ExampleStackRouter extends StatelessWidget {
  const ExampleStackRouter({Key? key}) : super(key: key);

  @override
  Widget build(BuildContext context) {
    return StackRouter(
      initialRoute: ExampleStackRoutes.firstRoute,
      builder: (router) {
        return [
          StackRoute(
            route: ExampleStackRoutes.firstRoute,
            child: StackRouterScaffold(
              height: 500,
              width: 500,
              child: Center(
                child: ElevatedButton(
                  onPressed: () {
                    router.pushRoute(ExampleStackRoutes.secondRoute);
                  },
                  child: const Text(
                    "Go to second route",
                    style: TextStyle(color: Colors.white),
                  ),
                ),
              ),
            ),
          ),
          const StackRoute(
            route: ExampleStackRoutes.secondRoute,
            child: StackRouterScaffold(
              height: 400,
              width: 400,
              child: Center(
                child: Text("I'm the second route!"),
              ),
            ),
          ),
        ];
      },
    );
  }
}

// Show our modal stack router flow
showModalStackRouter(
  context: context,
  child: const ExampleStackRouter(),
);
In this example, the first route consists of a button that navigates to the second route using the router.pushRoute API when it is pressed.
The basic router APIs for navigating between routes are:
pushRoute(String route)- Push the given route onto the top of the navigation stackpopRoute([String? route])- Pop the given route (defaults to the current route) from the navigation stack.
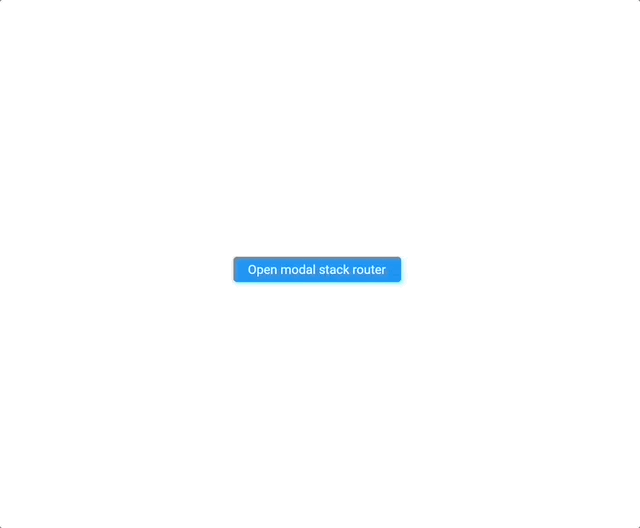
To open the modal flow, we call the showModalStackRouter stack router API, passing in the stack router to open.
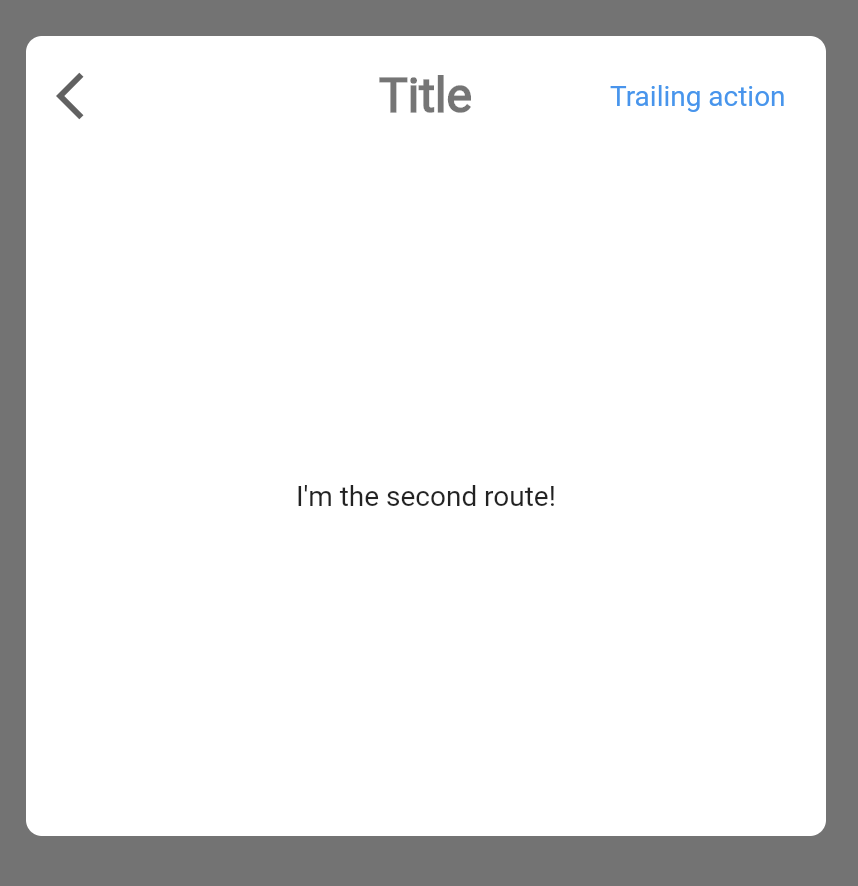
App bars
The StackRouterScaffold widget in our example automatically adds a back button in the StackRouterAppBar on the second route. If we wanted to customize the app bar, we can provide one as shown below:
StackRoute(
  route: ExampleStackRoutes.secondRoute,
  child: StackRouterScaffold(
    height: 400,
    width: 400,
    appBar: StackRouterAppBar(
      title: Text(
        "Title",
        style: Theme.of(context).textTheme.headline1!.copyWith(
          fontSize: 24,
          fontWeight: FontWeight.bold,
        ),
      ),
      trailing: TextButton(
        child: Text("Trailing action"),
        onPressed: () {},
      ),
    ),
    child: Center(
      child: Text("I'm the second route!"),
    ),
  ),
);
Snack bars
Snack bars are queued per route and can can be shown or hidden with the router snack bar APIs:
showSnackBar({ required StackRouterSnackBar snackBar, String? route })- Display a snack bar on the provided route (default is current route).hideSnackBar({ String? route })- Clear the current snack bar on the provided route (default is current route).clearSnackBars({ String? route })- Clear all snack bars from the given route (default is the current route).
In the following example, two snack bars are queued up on the current route when the button is pressed:
class ExampleStackRouter extends StatelessWidget {
  const ExampleStackRouter({Key? key}) : super(key: key);

  @override
  Widget build(BuildContext context) {
    return StackRouter(
      initialRoute: ExampleStackRoutes.firstRoute,
      builder: (router) {
        return [
          StackRoute(
            route: ExampleStackRoutes.firstRoute,
            child: StackRouterScaffold(
              height: 500,
              width: 500,
              child: Center(
                child: ElevatedButton(
                  onPressed: () {
                    router.showSnackBar(
                      snackBar: const StackRouterSnackBar(
                        title: Text(
                          "I'm the first snackbar!",
                          style: TextStyle(color: Colors.white),
                        ),
                      ),
                    );
                    router.showSnackBar(
                      snackBar: const StackRouterSnackBar(
                        title: Text(
                          "I'm the second snackbar!",
                          style: TextStyle(color: Colors.white),
                        ),
                      ),
                    );
                  },
                  child: const Text(
                    "Show a snack bar",
                    style: TextStyle(color: Colors.white),
                  ),
                ),
              ),
            ),
          ),
        ];
      },
    );
  }
}

Stack Router Actions
The children of a StackRouterScaffold can also call the stack router APIs using the StackRouterActions inherited widget of the current context. This makes it easier to change routes and show snack bars from arbitrarily nested widgets.
class SecondRoute extends StatelessWidget {
  @override
  build(context) {
    return StackRouterScaffold(
      child: Center(
        child: ElevatedButton(
          style: ButtonStyle(
            backgroundColor:
                MaterialStateProperty.all(Colors.white),
          ),
          onPressed: () {
            StackRouterActions.of(context).showSnackBar(
              snackBar: const StackRouterSnackBar(
                title: Text(
                  "I'm a snackbar!",
                  style: TextStyle(color: Colors.white),
                ),
              ),
              actions: [
                TextButton(
                  child: Text('Go back'),
                  onPressed: () {
                    StackRouterActions.of(context).popRoute();
                  }
                )
              ]
            );
          },
          child: const Text(
            "Show snack bar",
            style: TextStyle(color: Colors.black),
          ),
        ),
      ),
    );
  }
}
Persisted Routes
Stack routers pass the widgets specified in the routes list to an IndexedStack widget that chooses which route to display. Because routes are managed by an IndexedStack, it has some interesting properties like the ability to warm up and persist routes:
StackRoute(
  route: ExampleStackRoutes.secondRoute,
  persist: true,
  child: Center(
    child: const Text(
      "Second route",
      style: TextStyle(color: Colors.white),
    ),
  ),
);
By default, a route in the stack router is not built until it has been pushed on. All routes that have been pushed on are maintained in the StackRouter history and are persisted so that when you push on a second route and pop back to the first, it is still the same widget instance and has maintained all the temporal state like any form data or changes the user may have made to the route before navigating away.
If you want to warm up a particular route even before it has been navigated to, you can specify persist: true on the route so that it will optimistically build when the StackRouter is first instantiated. This is useful for routes in a flow that are likely to be navigated to and are slower to build because of network data requirements or deep build trees.
Feedback Welcome
Stack routers have been a helpful tool in building our modal web flows. If there are any additional features or changes that would make them more helpful for your own use cases, let us know on the GitHub project. Happy coding!